Category Archives: single unit draw

Drawloom Basics Class, Part 3 of 3 ~ Samples

The photos and basic information are shown in the order they were woven, and unless otherwise indicated, the side you are viewing is the side that was up as woven.
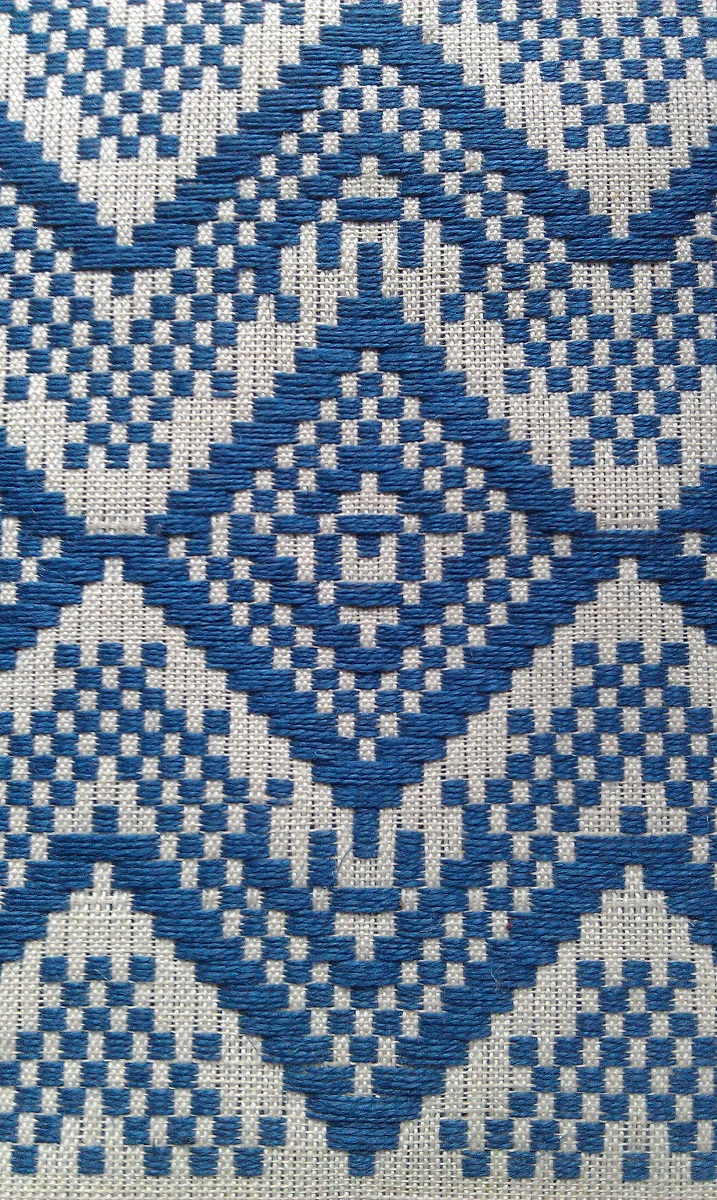

Opphamta.

Opphamta weave has a plain weave ground, with pattern floats.  You work from a chart, your own design or one you found (be careful of copyright).  This sample has a warp of 16/2 cotton bleached (plain weave), and 16/2 linen for pattern.  Warp is 14 ends/cm., and 14 picks/cm.
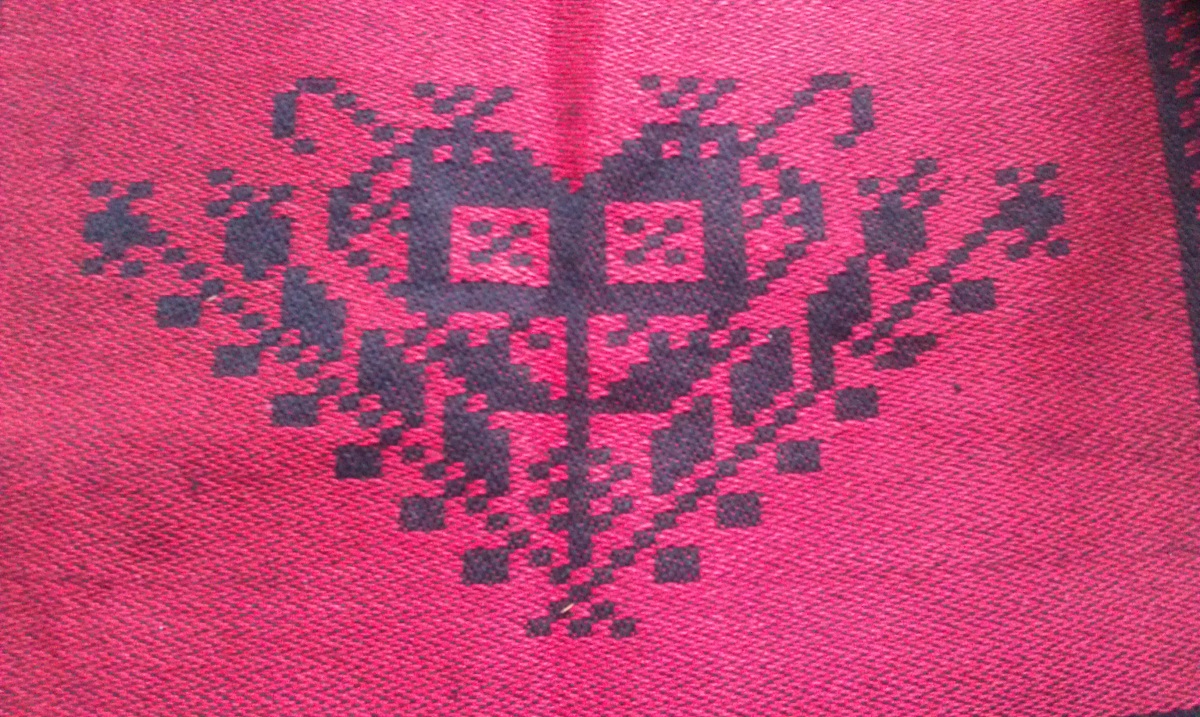


“Double Dragons.”

The “Double Dragons” were woven on an Oxaback single unit drawloom with the charted design saved in pattern lashes.  This piece is 5 shaft satin.  The warp is 28/2 line linen, half-bleached, and the weft is 12/2 line linen, natural.  Warp is 16 ends/cm, and 16 picks/cm.
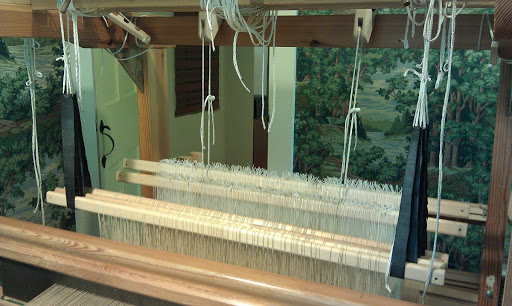
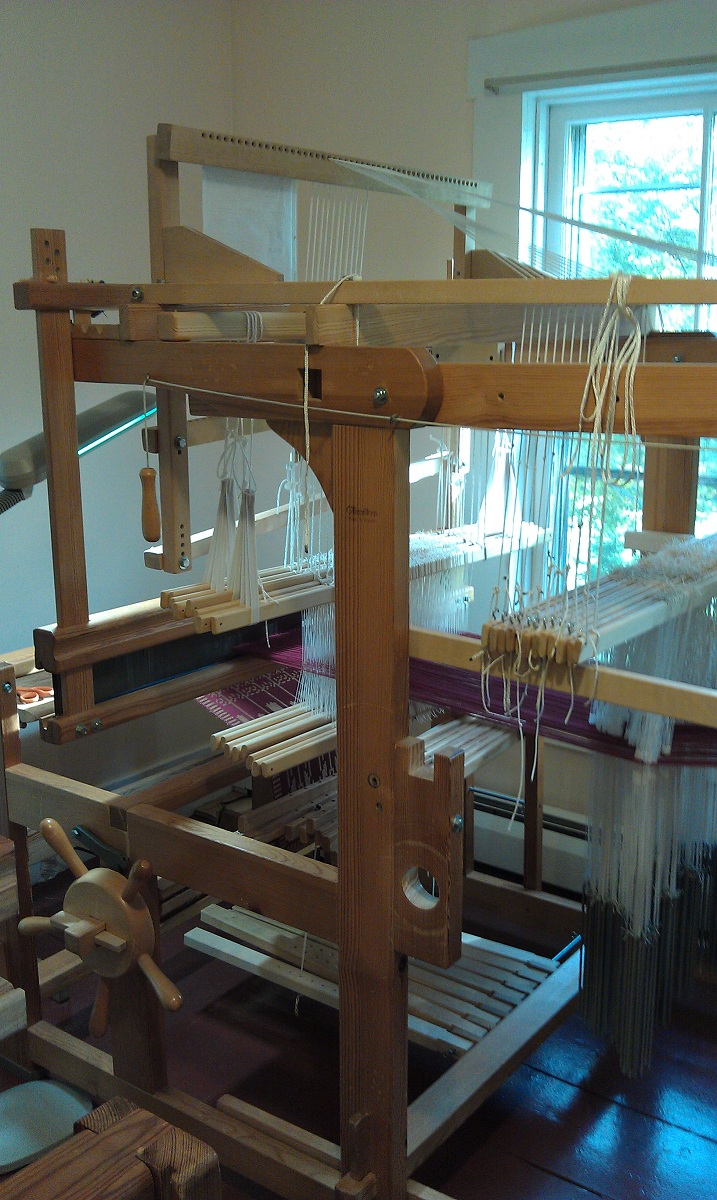


Smalandsvav sample.

Smalandsvav is a double harness weave, and can be set up on a standard loom.  This particular loom had a small extension for the warp beam to improve the shed.  The warp is 16/2 cotton, 12 ends/cm, and has 16/2 cotton (single) for the plain weave, and 16/2 cotton (doubled, a shuttle with two bobbins), 12 picks/cm.


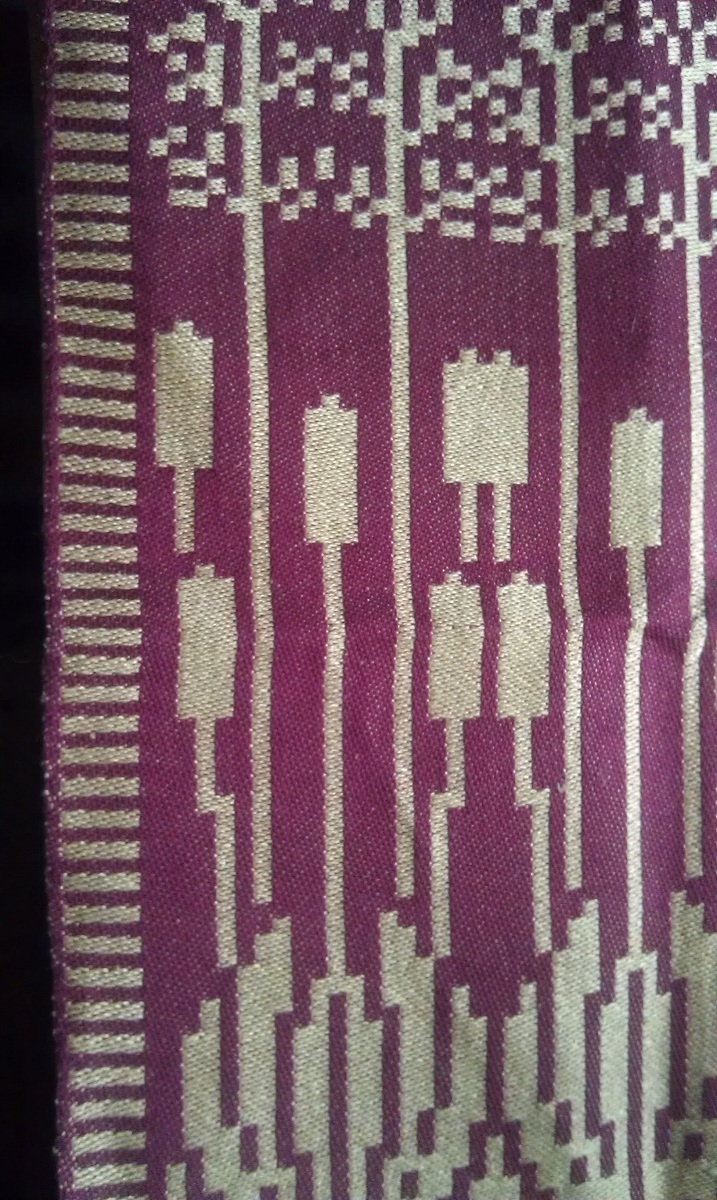
“Cattails” woven on shaft draw.

The “Cattails” were woven on an Ideal loom with Myrehed shaft draw system.  This photo only shows a portion of the piece but I wanted to include a bit of the border.  The weave structure is 8 shaft satin.  Warp is 8/2 cotton, 14 ends/cm, and weft is 16/2 linen, 14 picks/cm.


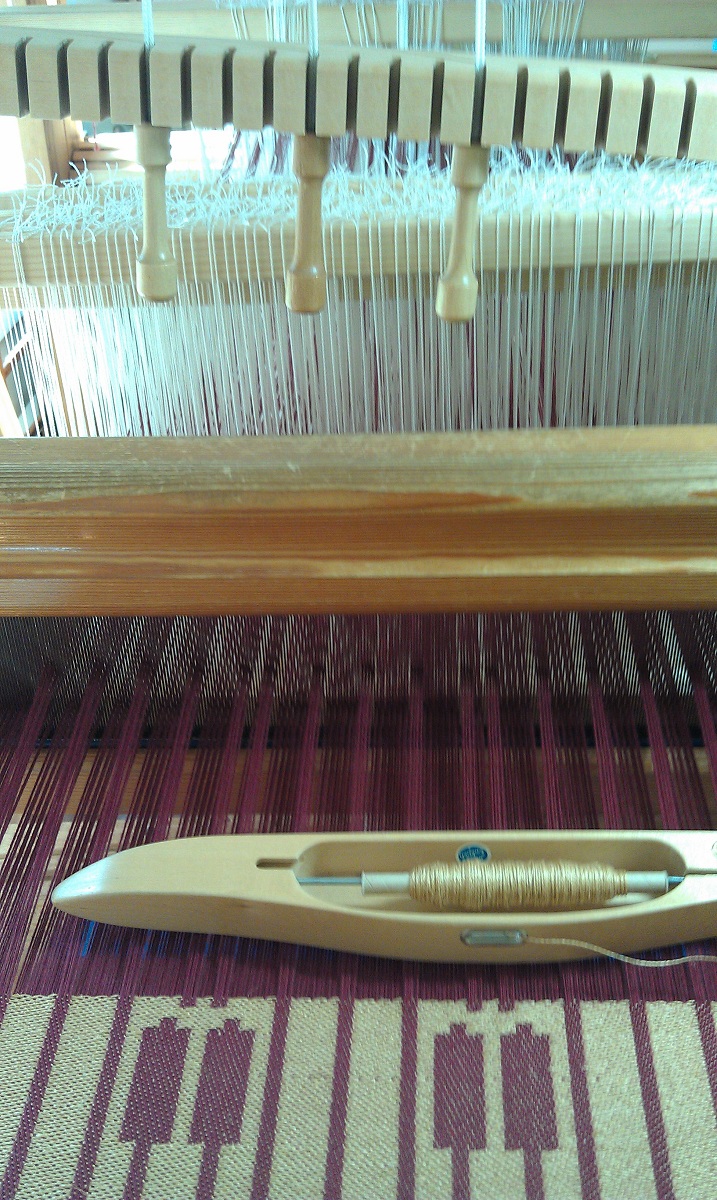
Charted design (underside when on loom).

For this piece, I had chosen a charted design that would not be too difficult to weave given the time allowed, and I added a simple border.  It was woven using a Myrehed single unit attachment on, I believe, an Anderson floor loom with long extension.  The warp is 22/2 cottolin, doubled (black), 20 ends/cm, and 16/2 linen (I chose bright red), 10 picks/cm.


This photo shows a bit of the border (underside when on loom).


This side was up as I was weaving.

When weaving, or researching a weave, I like to keep notes on warp and wefts used, sizes, fibers, sett, and so on, to help in future weaving projects.

The samples have not yet been hemmed or washed, so you do see a few wrinkles from being folded when shipped.  How I wish I had a cold mangle for pressing pieces as the iron does not seem to get the wrinkles out.  Even when I think they are, a photo shows they are not! 

The next post, coming mid-week, is of drawloom pieces woven as examples for students, and pieces hung for display.  I was particularly taken with the Smalandsvav and Opphamta pieces.

Drawloom Basics Class, Part 2 of 3


Smalandsvav sample.

My next weaving experience that week was Smalandsvav.  We had gone over basic design possibilities, and with that sheet in hand, and a bobbin with two shuttles, I decided to weave two colors at once.  It must come from my using three colors when cranking socks? 


Smalandsvav is a double harness weave.


Smalandsvav is not woven on a drawloom but is a double harness weave, requiring two sets of shafts.  The above photo was taken to help me with setting up a loom at home when I weave this at home.


Small extension added to the loom.

Smalandsvav was set up on an Glimakra Ideal loom with a short extension added to help with achieving the shed.  A double-bobbin shuttle was used.

Cattail design being woven on a shaft draw system.

For weaving on the shaft draw system, also set up on a Glimakra Ideal, I chose a design of cattails.  What I did not realize (and still need to understand) was there was an “x shaft” in the design.  Though I worked from the center of the design when pulling the cords, you can see there are “double” cattails in the photo above that should be single.  I need to get “Damask and Opphamta” out to read and understand what was going on here.

Loom with shaft draw system.

Shaft draw systems are for weaving designs that repeat across the width of the fabric.  (The opphamta attachment also produces designs that repeat.)


A better view of the weaving, nearly completed.


My last weaving was on a loom with the Myrehed single unit draw.  With that setup, you can do freeform designs, though the design I had chosen (the first day of class) was a balanced design, with border I added. 

Drawcords are in front of weaver instead of overhead.


This loom had the newer Myrehed single unit attachment with drawcords coming down in front of the weaver, instead of the older style single unit drawloom with drawcord warp overhead (as in the single unit with lashes in the previous post).


The charts/designs used at the looms were kept on a magnetic board that sat on the bench next to you.  Pull the cords according to the chart, weave the required rows (depending on structure), release the cords, pull the new cords, weave,…. until design is completed.

A better view of the weaving in progress.

The warp was black, and I chose a bright red weft.  The only issue I had was getting used to focusing my bifocals on the cords so as not to have errors in the weaving.  I did end up with one error, but there was not enough time to cut it out and re-weave.  At home, I would never have left it in no matter how far back I had to go.  However, it was the last afternoon and I decided having a finished design was more important at that point.


Looking at the shaft draw piece.


Class Photo from Drawloom Basics, Sept. 17-21, 2012.

Part 3 will have photos of my samples (off-loom), and brief information on fibers used, sett, and so on.

Next will be one or two posts with photos of woven samples we viewed during the week as well as woven pieces on display.

Following those will be a post on the Helena Hernmarck tapestry exhibit “In Our Nature,” at the American Swedish Institute in Minneapolis, along with a few pics from Swedish handknits and Swedish lace exhibits that were on at the same time.