 |
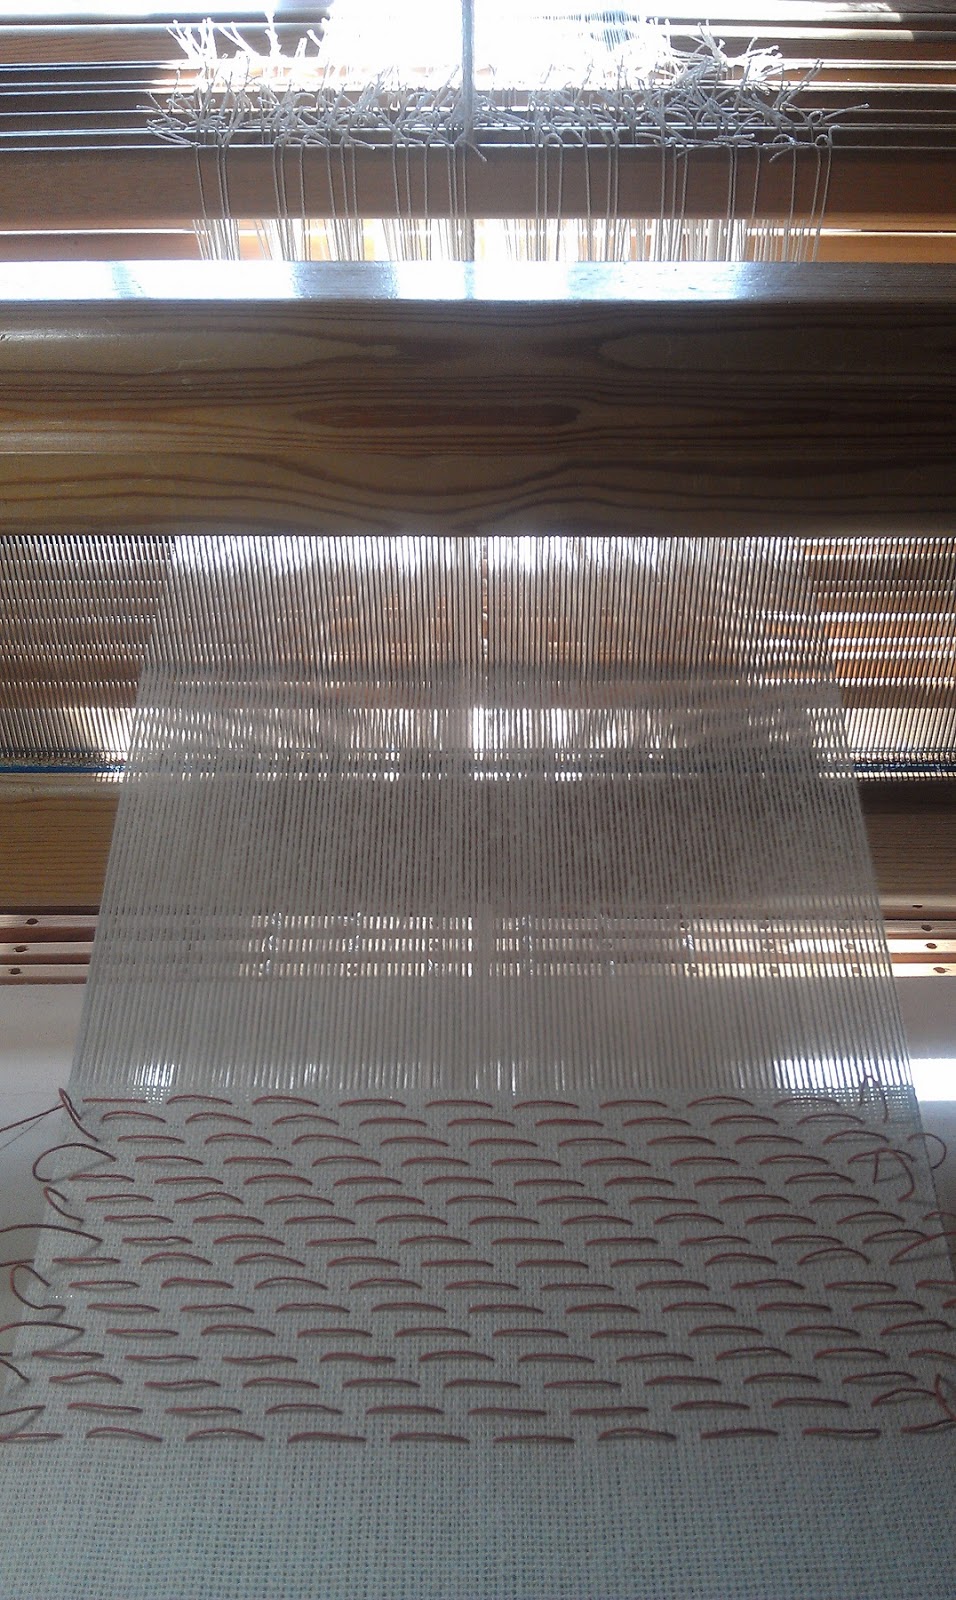
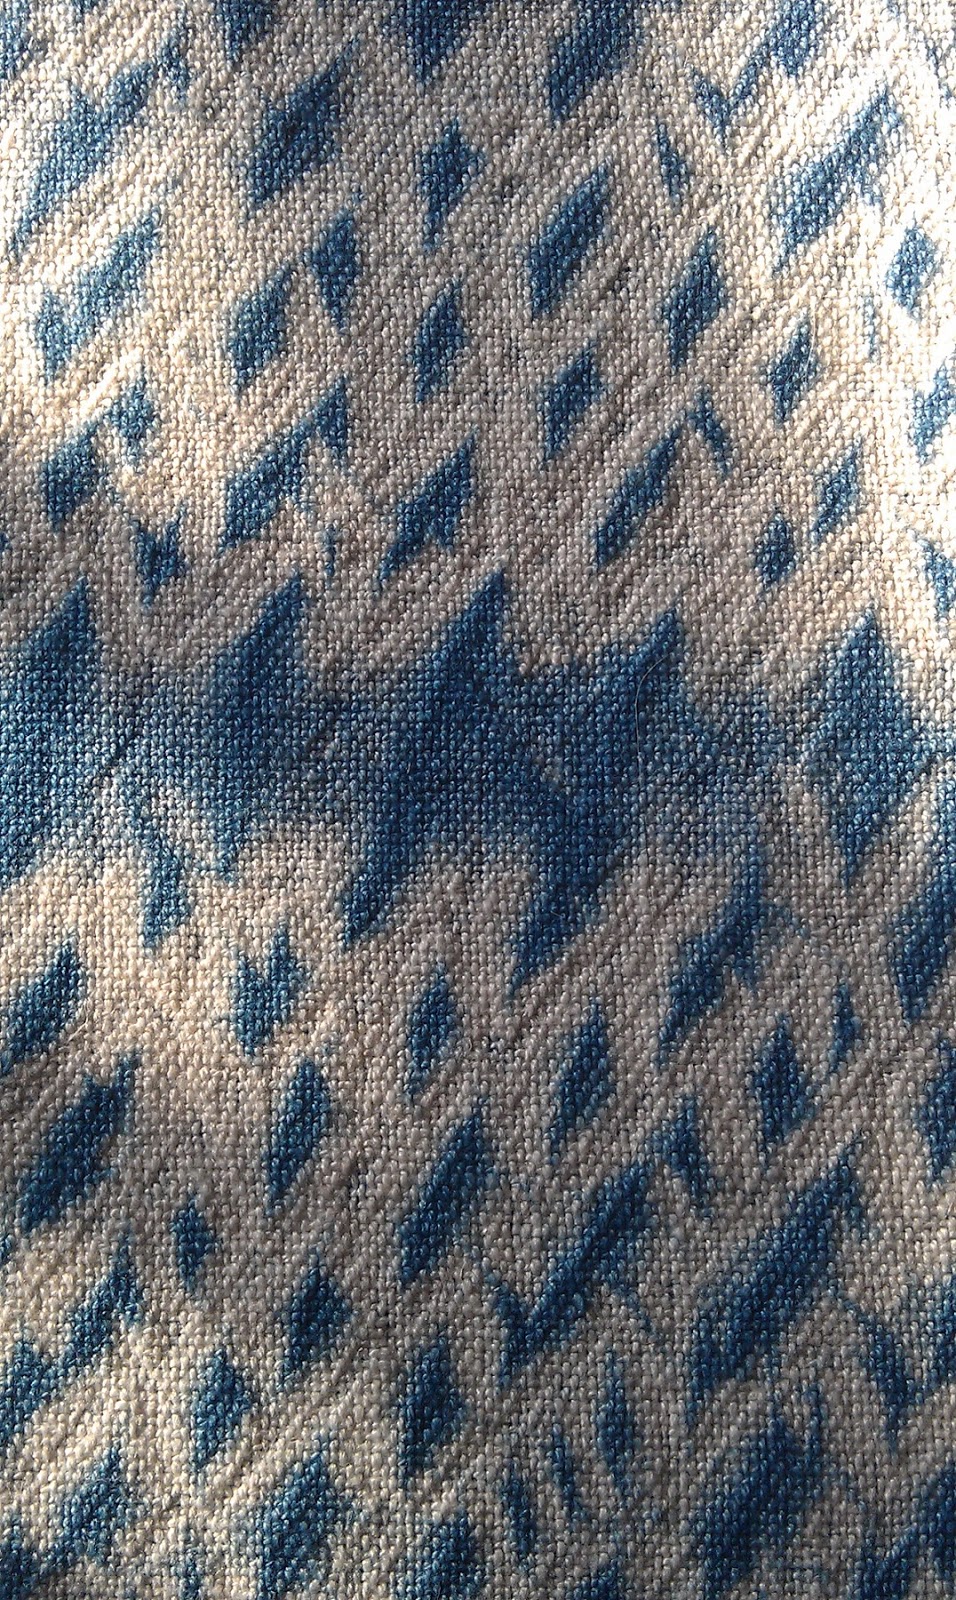
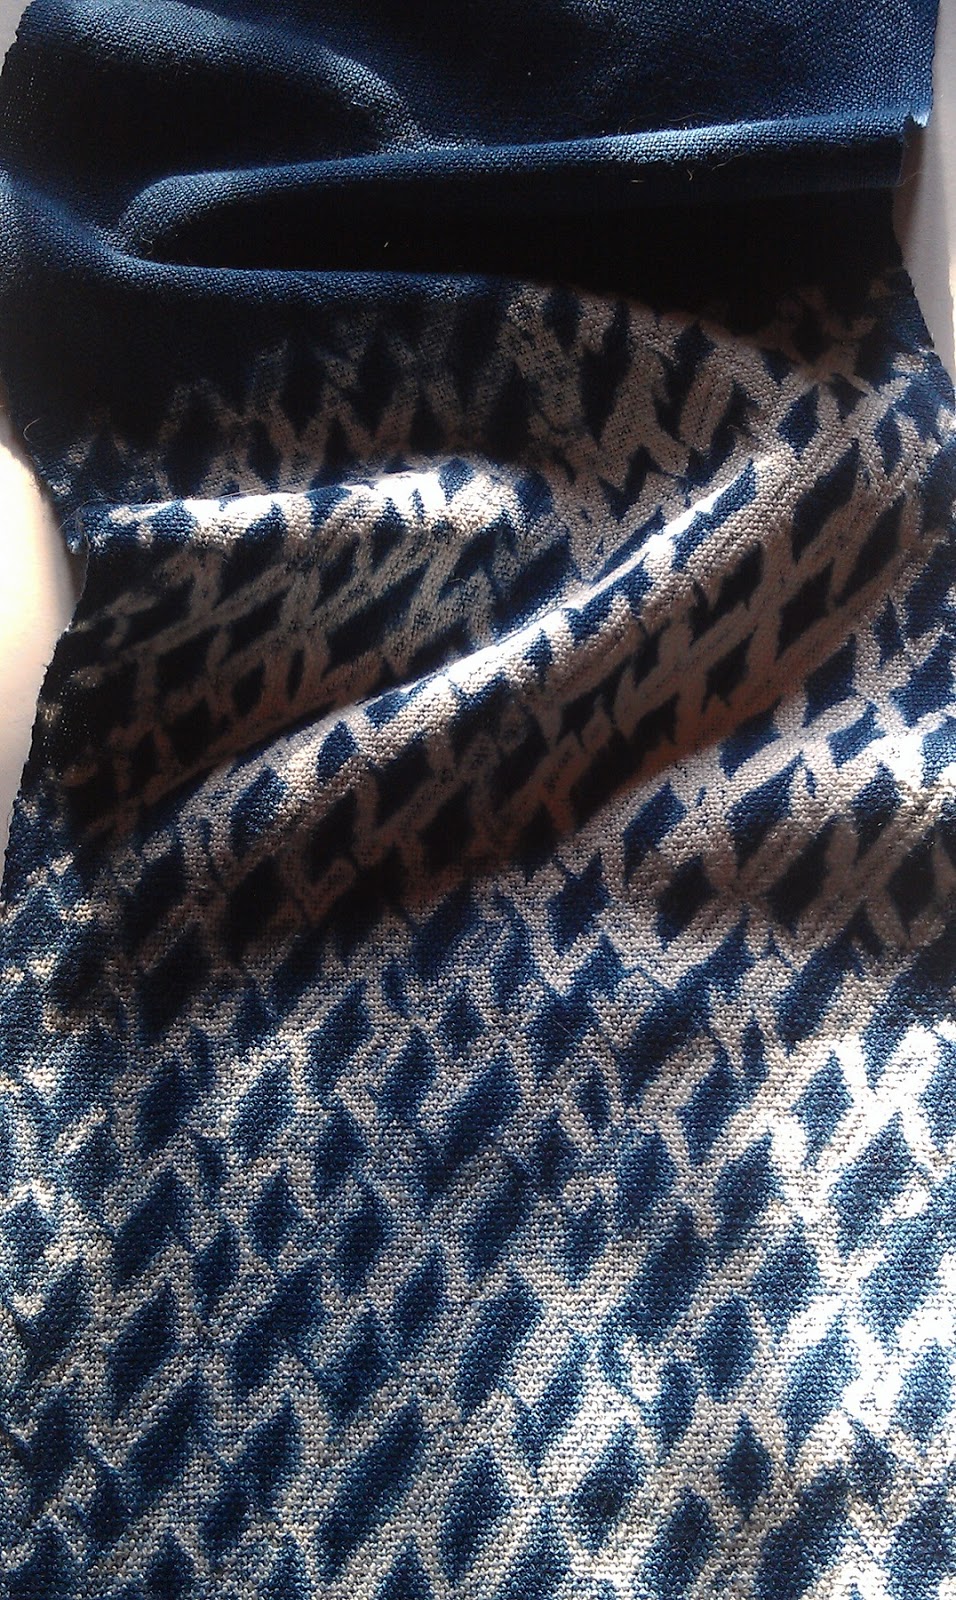
| Woven shibori sample on Monk’s Belt threading. |
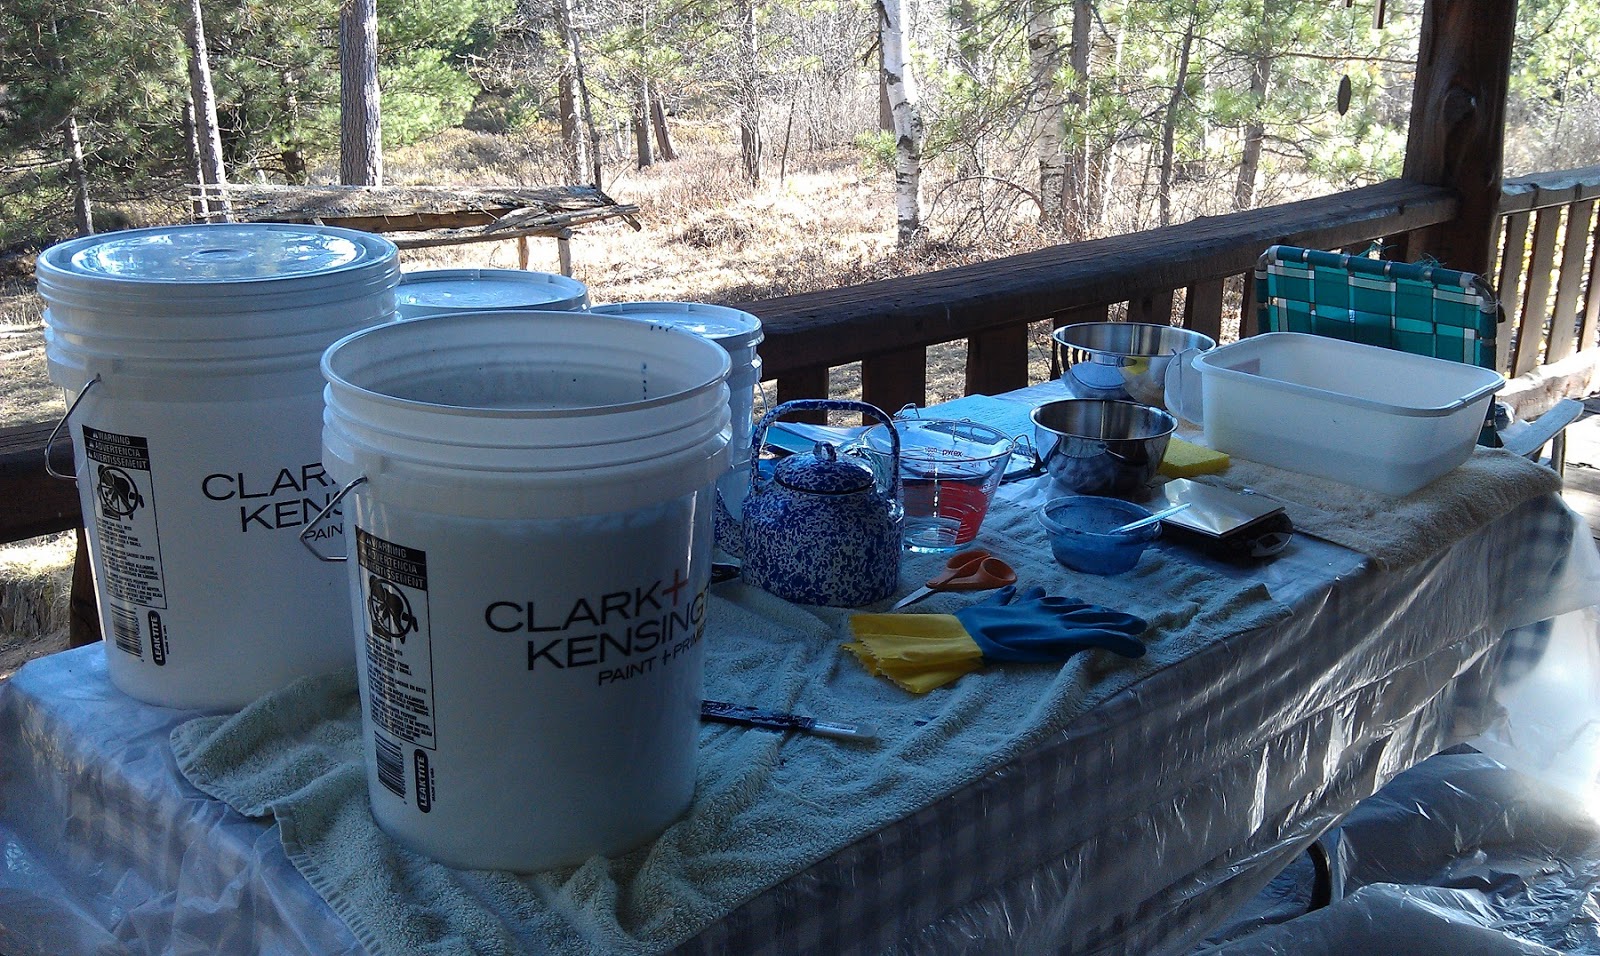
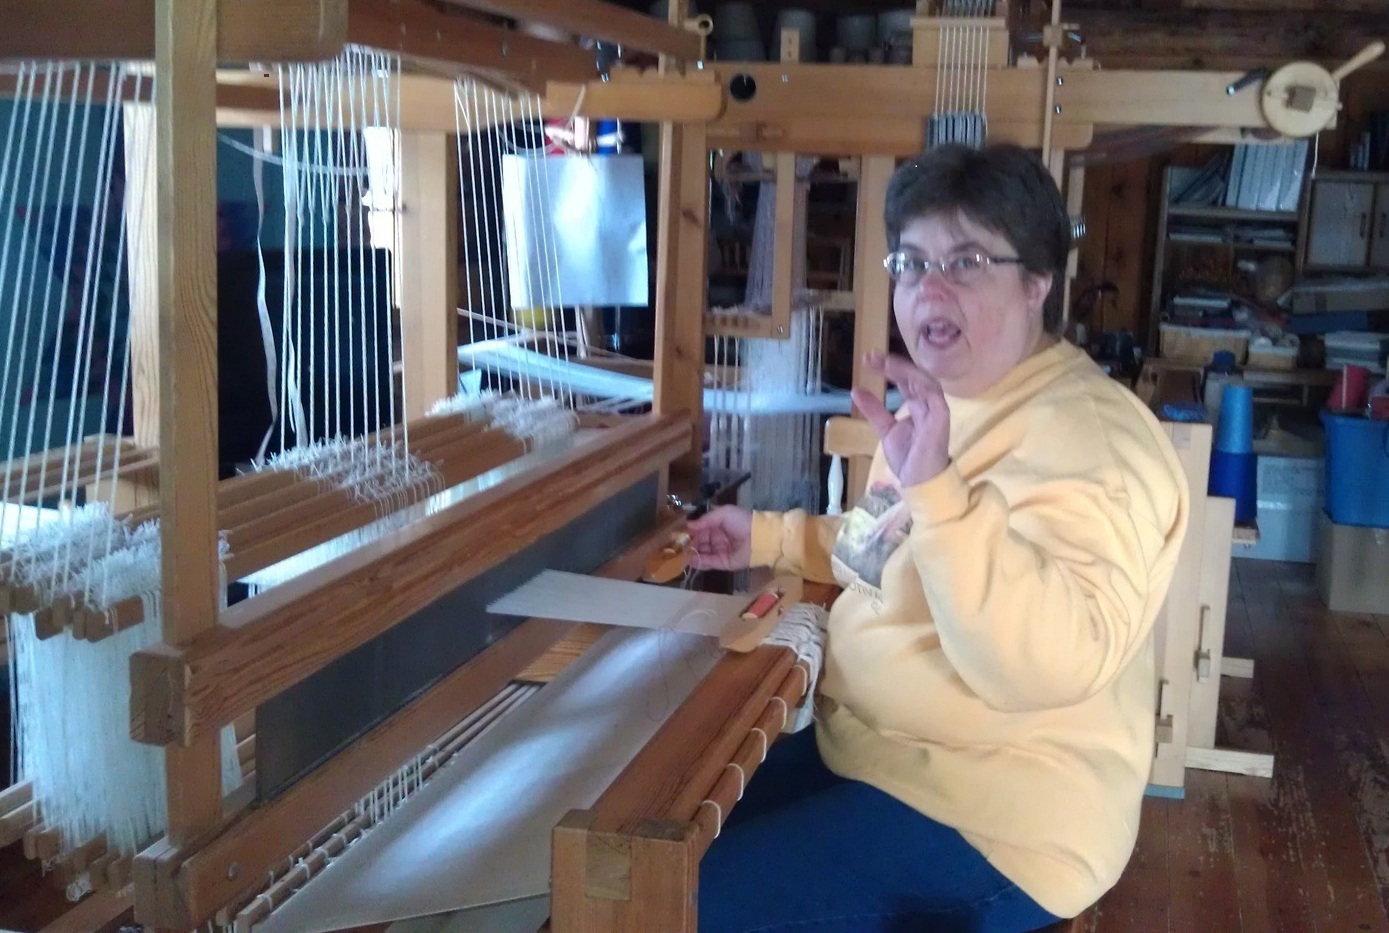
In over 32 years of weaving, I’ve never been one to do much sampling, but oh, how that has changed with woven shibori. Perhaps with a lot more experience, I’ll be able to take a weave structure and have an idea of how it might turn out when woven using this technique, but right now it is so new to me that samples are becoming a way of life. They will also be a very useful record of threading/treadling/probable results, aware that the dyeing results are also a bit of an unknown. As in the sample above, the samples are being hand-hemmed and placed with record sheets in a notebook. In addition, I can do samples first, decide which results I like, then weave the full-size pieces using those threading/treadling/spacing notes. The results won’t be exactly the same due to the dyeing process as well as minor differences when gathering and tying, but overall, you have a good idea of what the final result might be.
 |
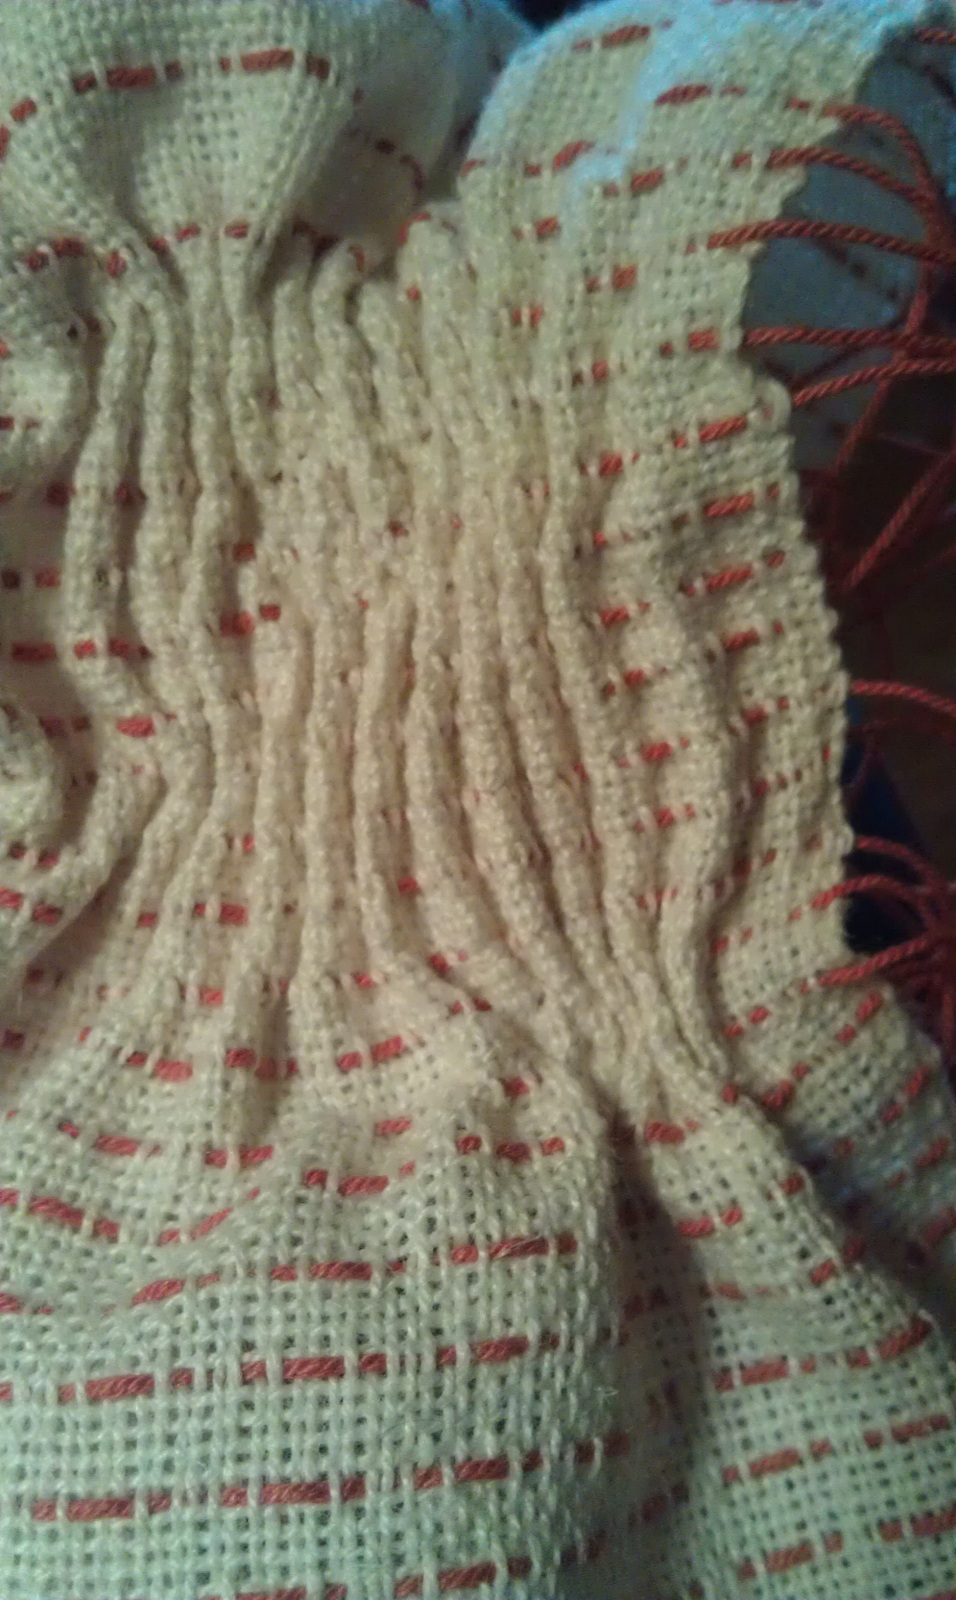
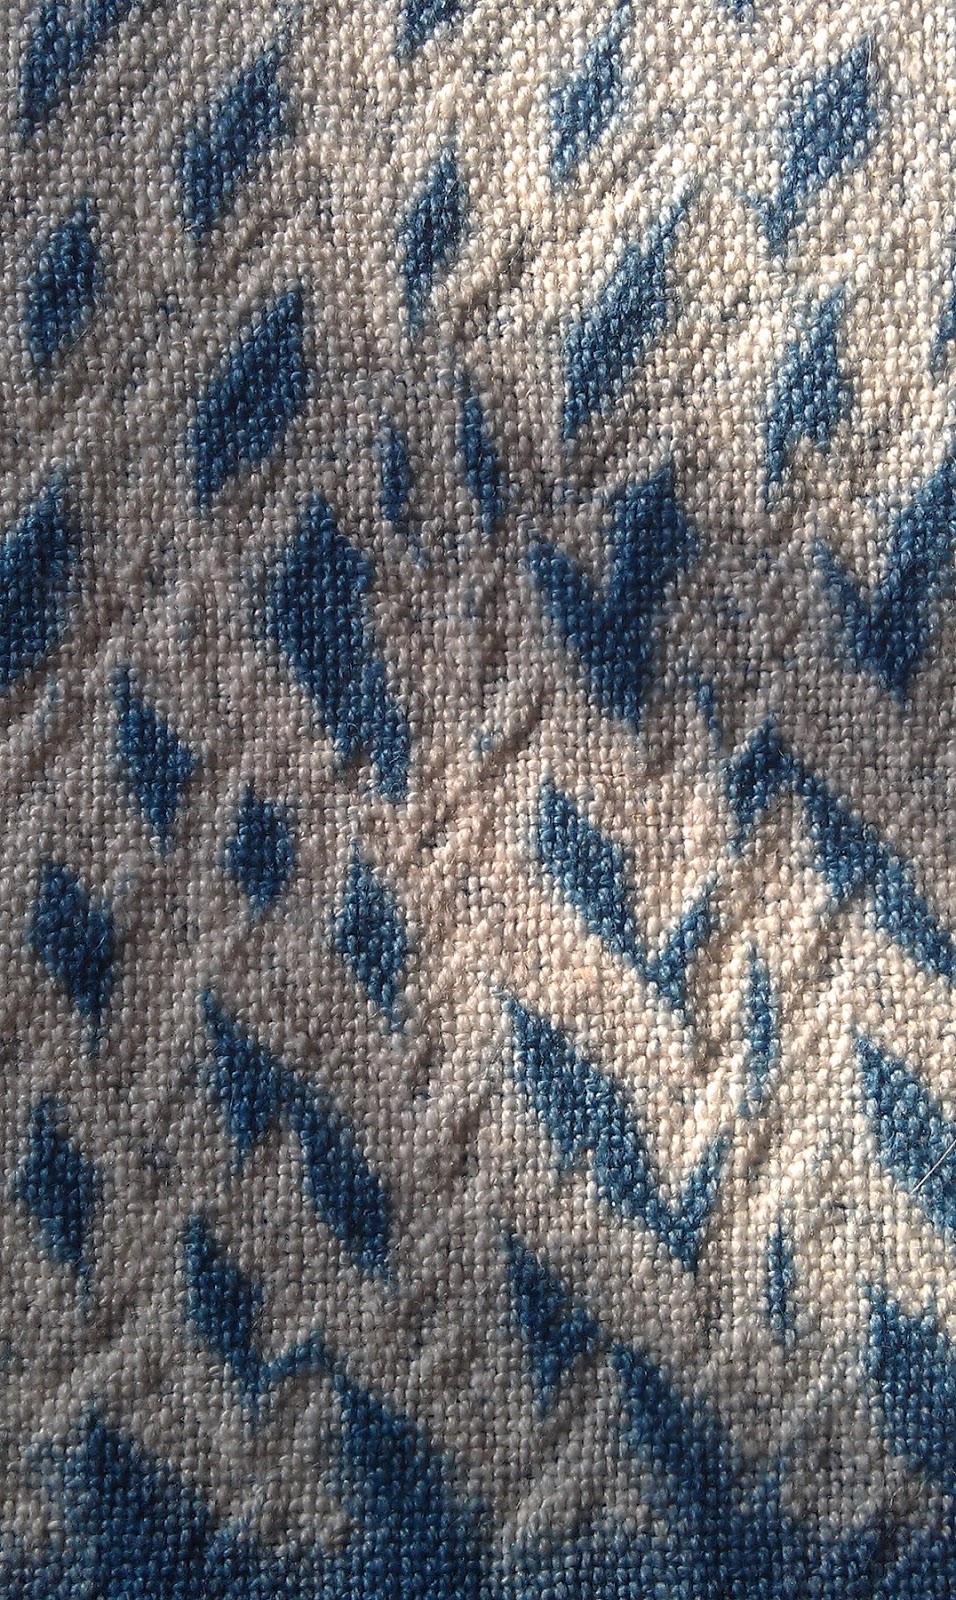
| Another sample on Monk’s Belt threading. |
Each sample was treadled differently and had varying numbers of rows of plain weave between pattern rows. Pattern rows are gathered and tied, in this case Monk’s Belt, so the closer together those rows are, the less dye is able to get between the gathered folds or pleats. Pattern rows further apart allow more dye in. So by varying the number of plain weave rows between each pattern row, you can have a bit of control in how light or dark a piece is (also keeping in mind the strength of the indigo you are using).
 |
| Another sample on Monk’s Belt threading. |
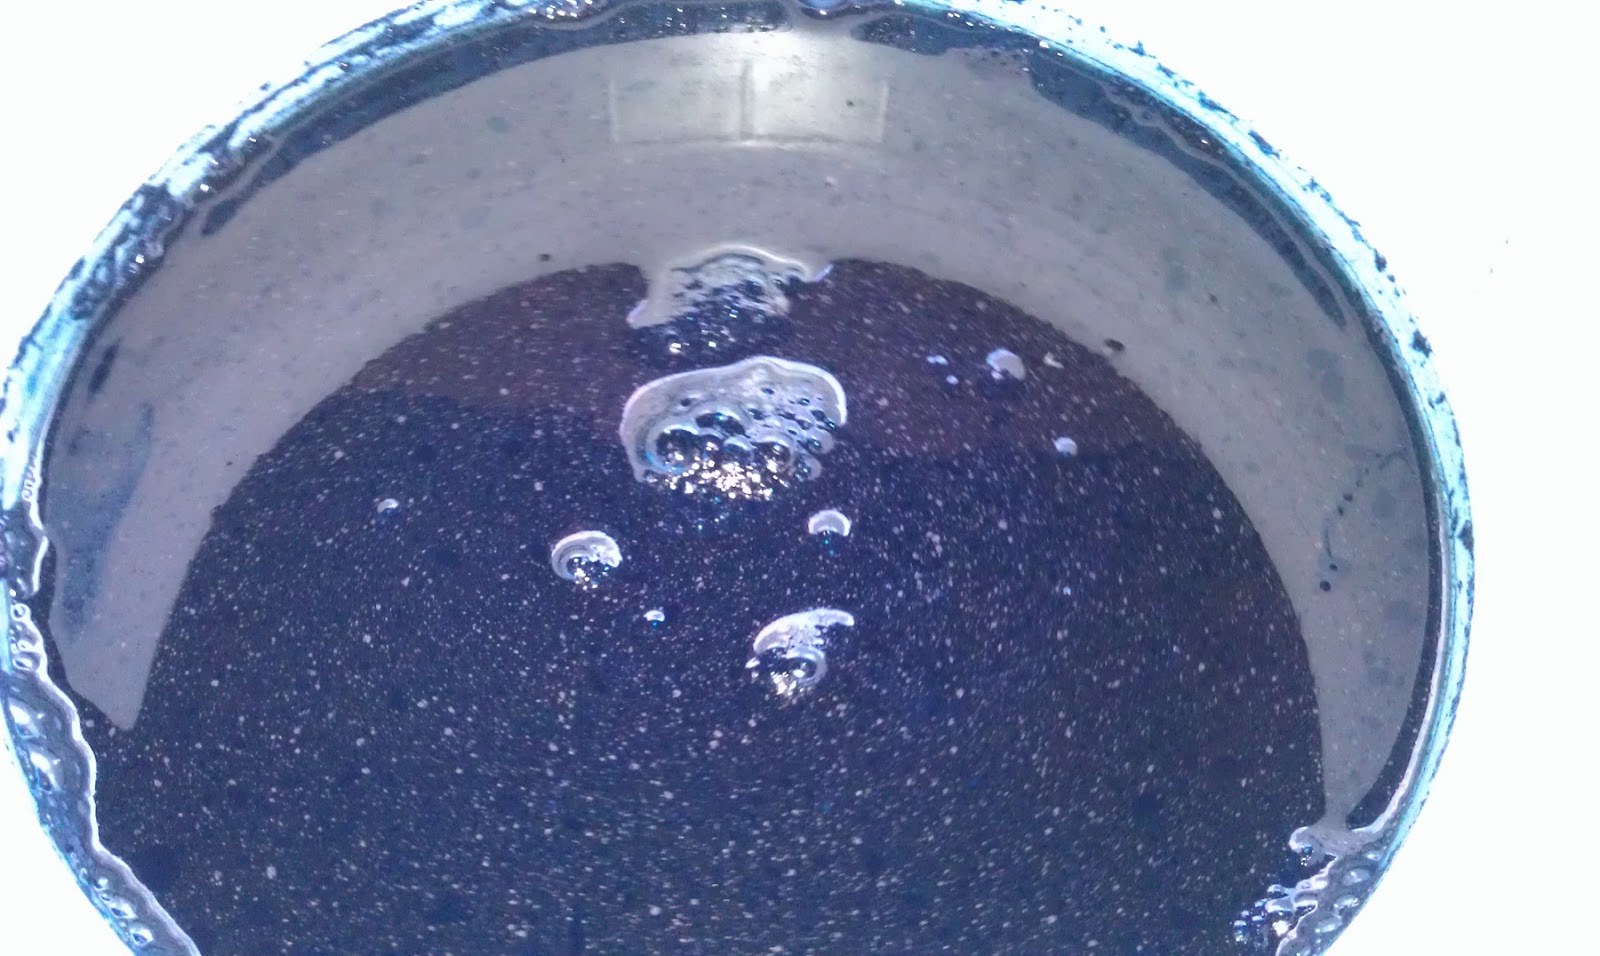
The second time indigo dyeing, I wanted to try to obtain lighter shades, as in this sample. The original vat results were very dark, so after watching a video clip by Glennis Dolce, in which she was taking measured amount(s) from the original vat and adding to water to obtain lighter shades, I followed those same directions. Taking 250 ml. from the original vat and adding it to 1000 ml. gave a result not too different from the original dark vat. I then took another container and added 250 ml. from the original vat to 2000 ml. of water, which gave me a lighter shade of indigo. Experimenting with these ratios and keeping careful notes is an area I will be continuing to explore, so when I have a particular shade in mind for a particular piece, I will have a good idea of how to achieve it, keeping the many variables in mind.
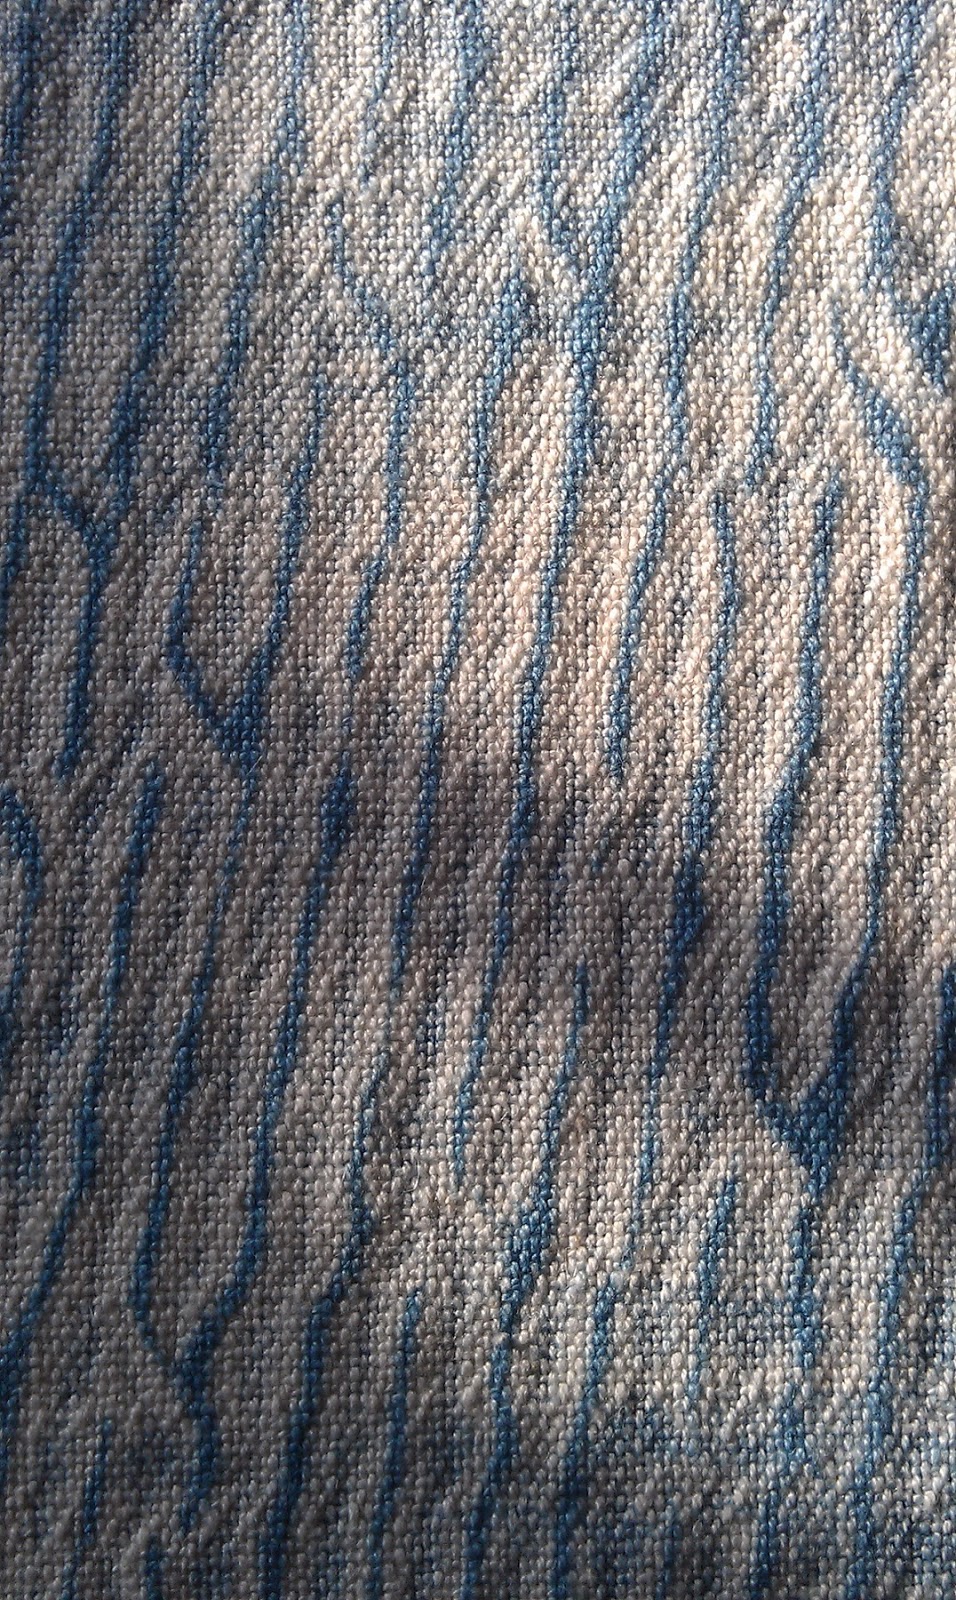 |
| Woven shibori on twill threading. |
This twill sample was dipped into the lightest indigo vat.
 |
| Another twill threading sample. |
 |
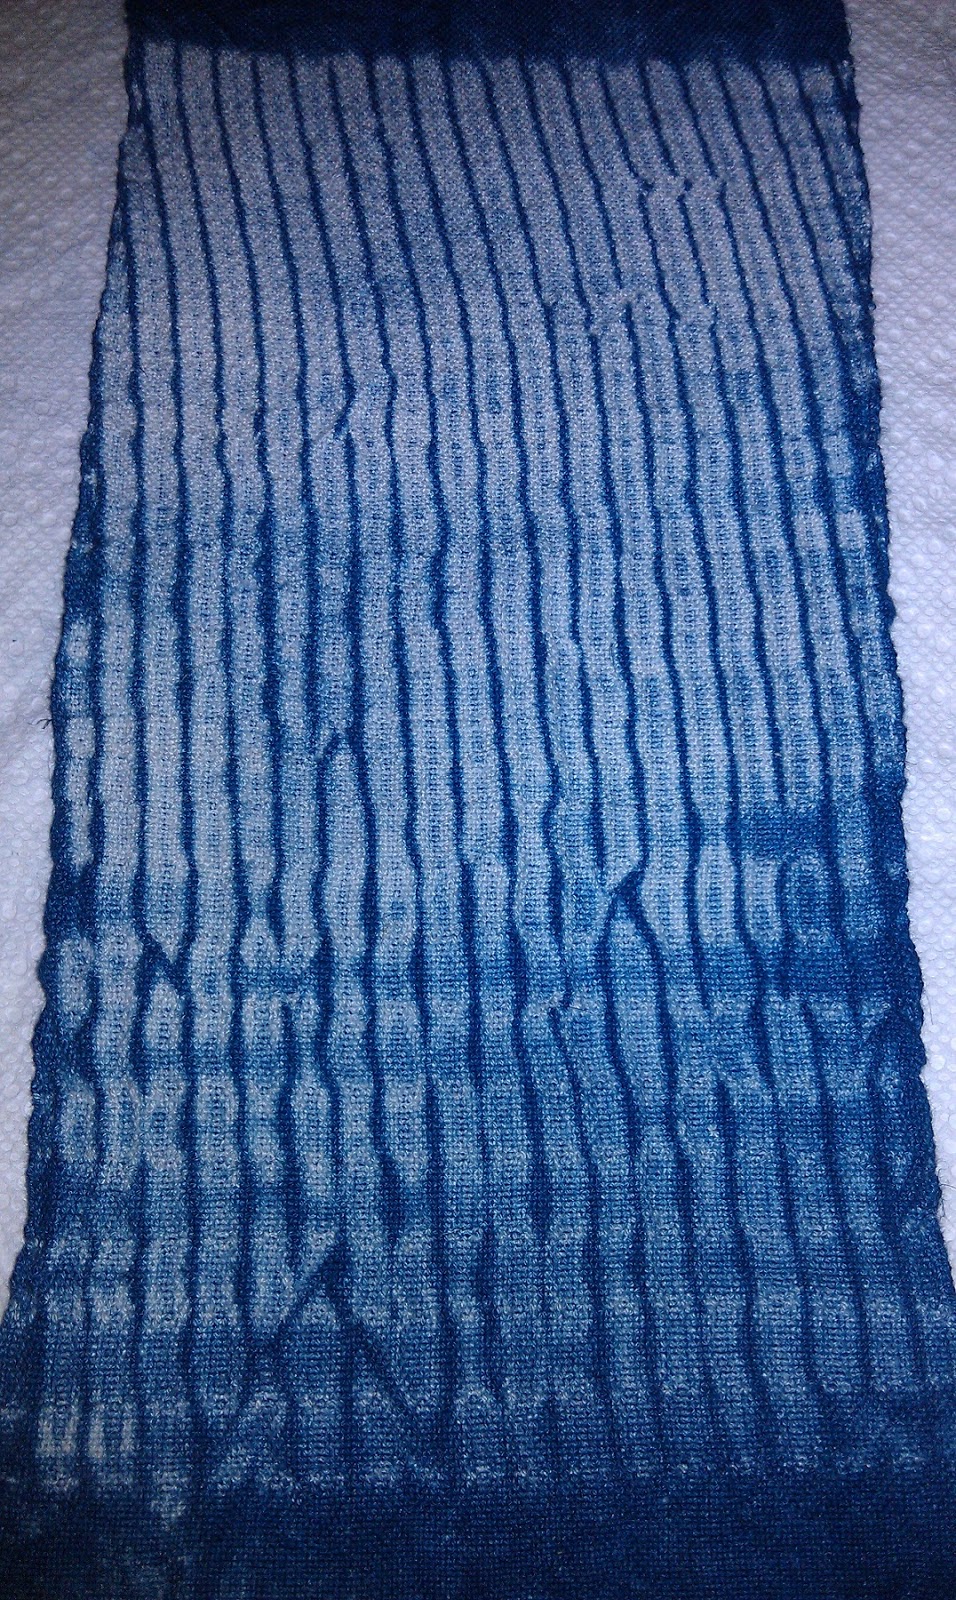
| Monk’s Belt threading. |
This sample had a one inch or so “gap” between pattern thread areas, allowing more dye to be absorbed, giving a “stripe” across the middle.
 |
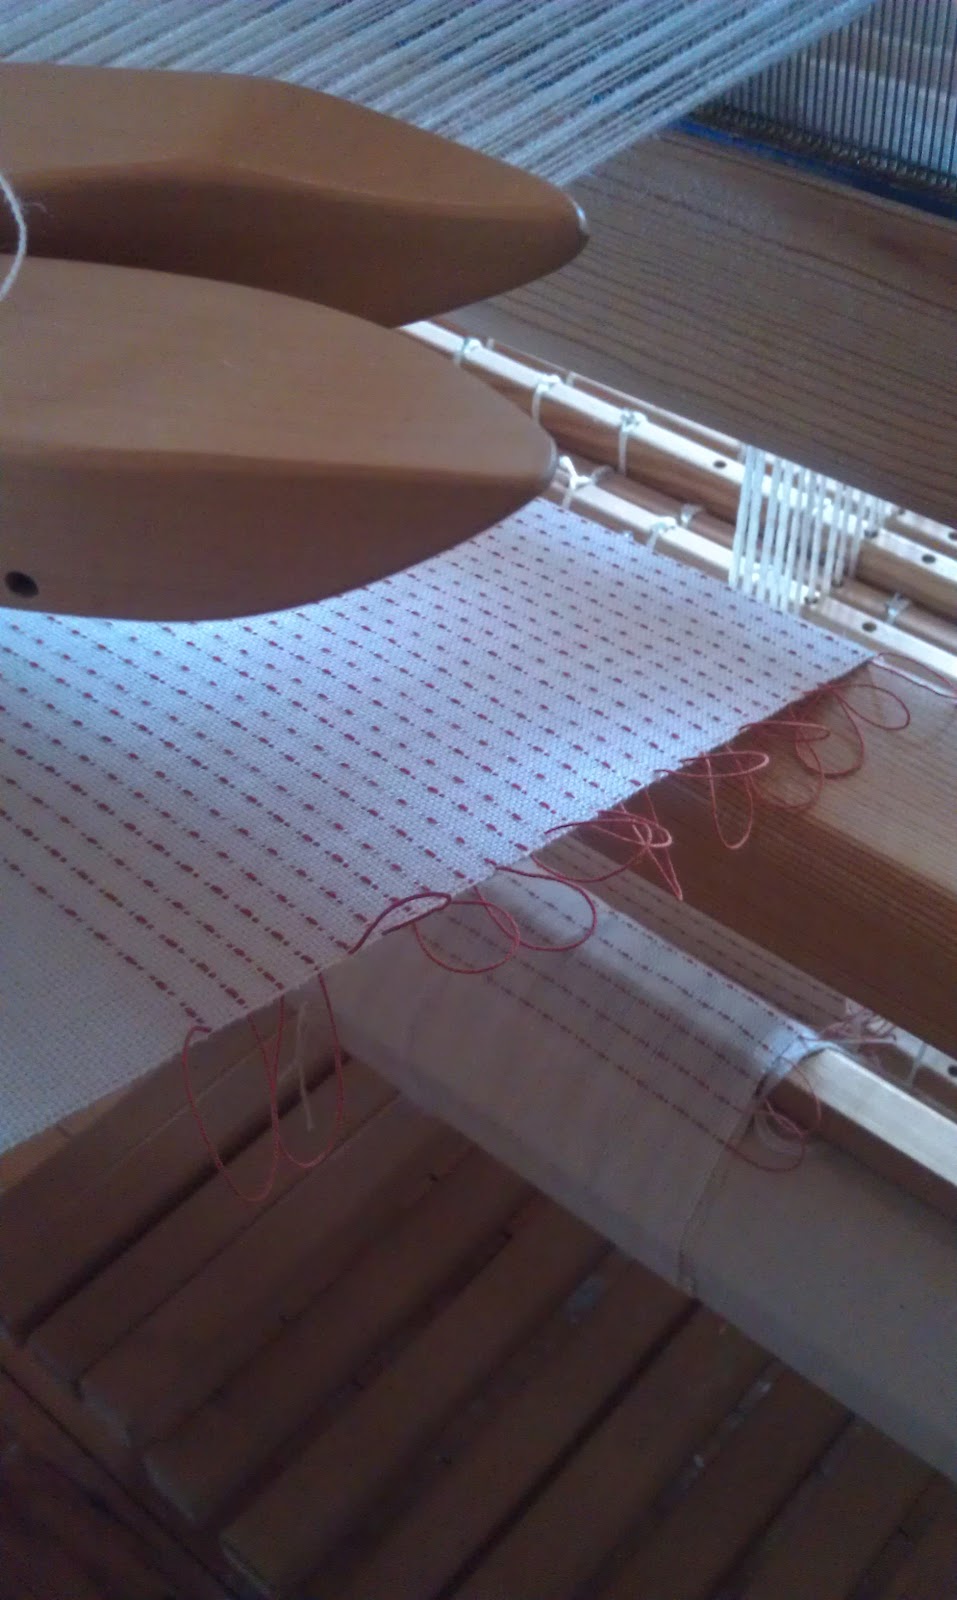
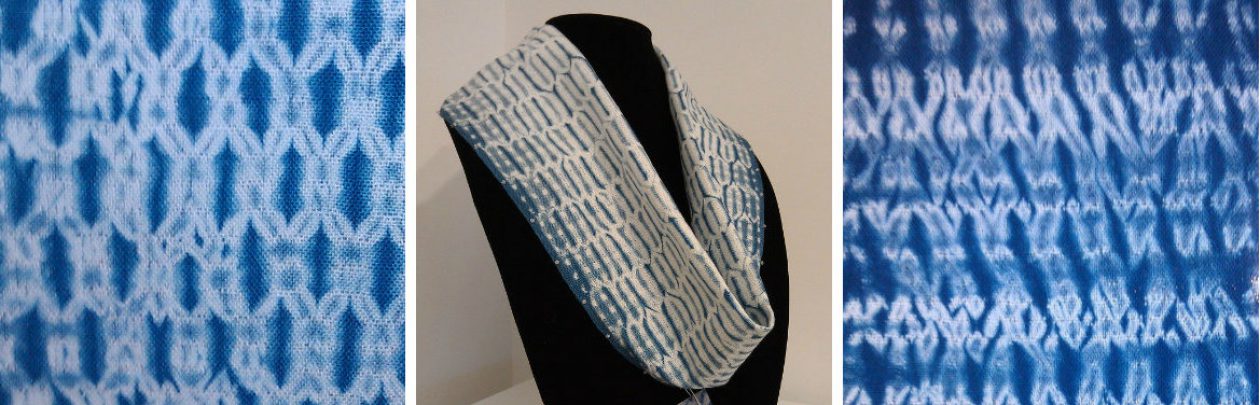
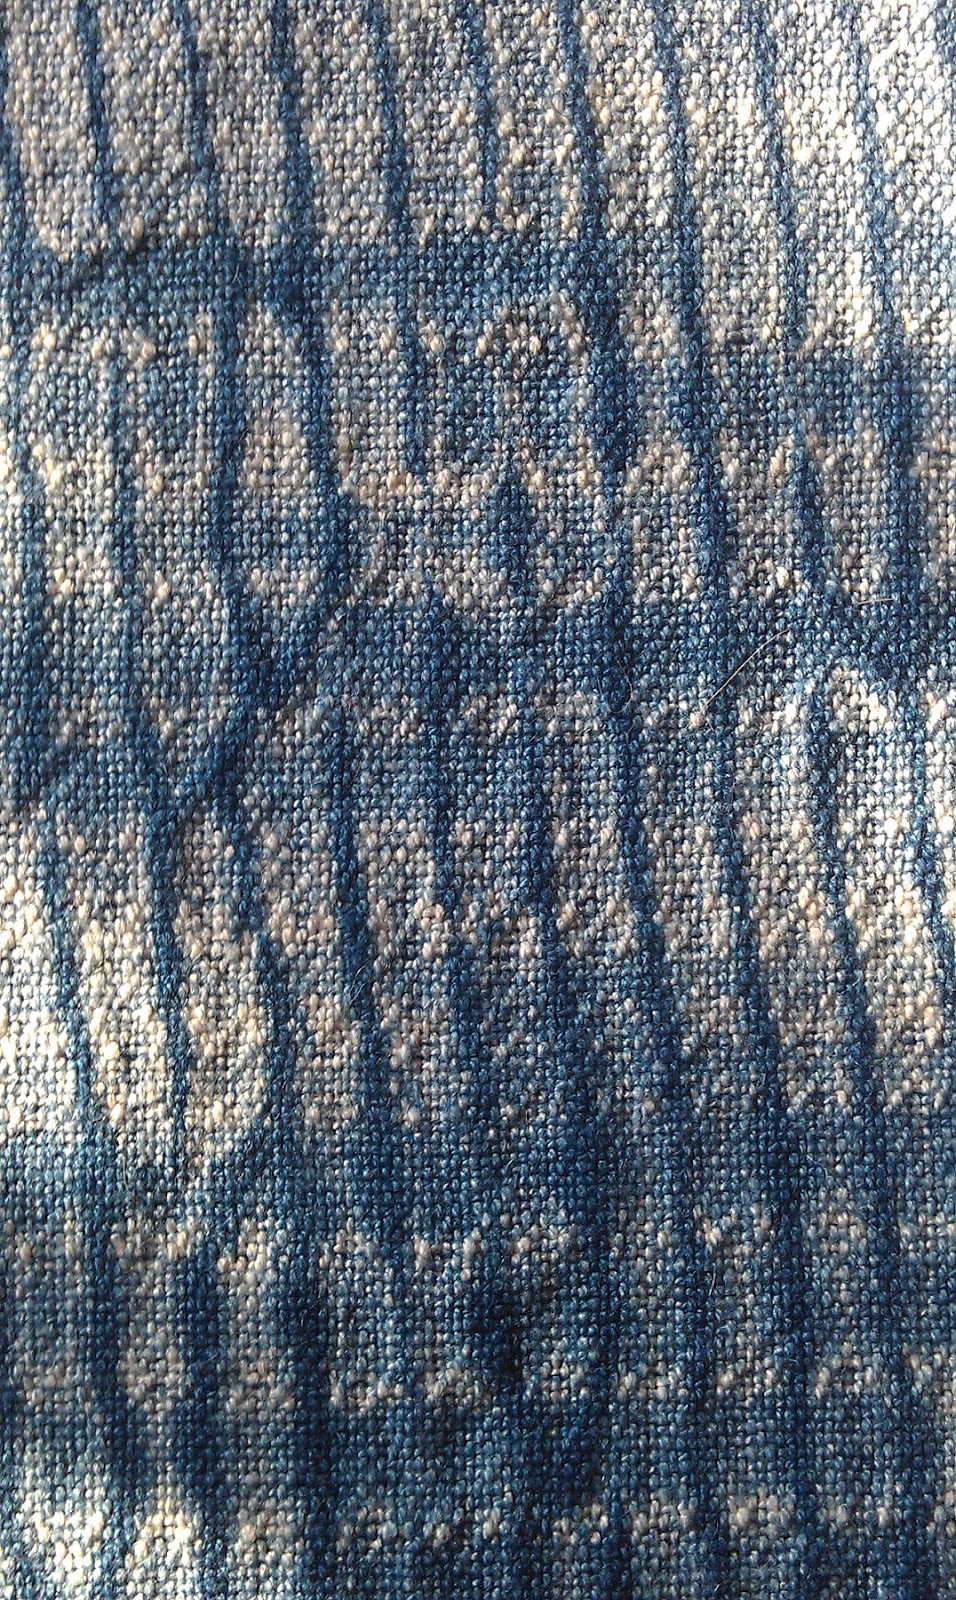
| Border scarf on Monk’s Belt threading. |
The scarf was on the Monk’s Belt threading, and dipped twice into the dark (original) vat, and like the samples, finishing included hand-hemming.
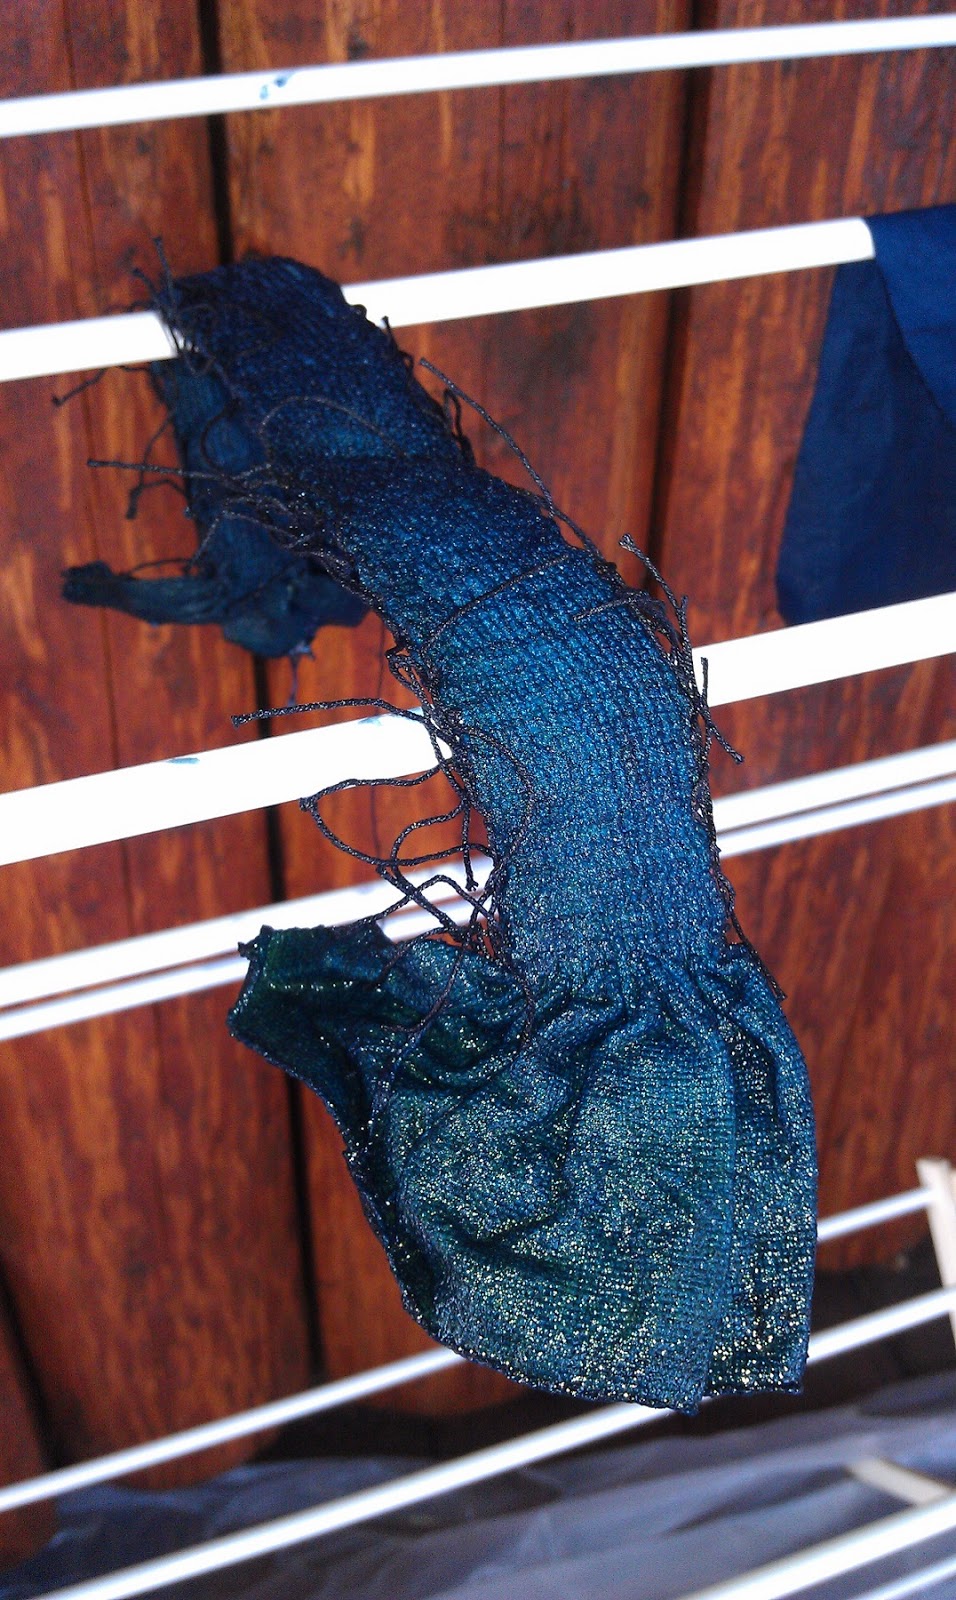
I am busy weaving more scarves, and a sample of the treadling for each, to add to the notebook. This Friday, after beaming a new warp, a friend and I will be at the indigo dyepots, so results should be on this blog next week, after everything has had time to dry, be hemmed, pressed, and photographed.
(Note, these photographs were taken outdoors on the lakeside porch, late afternoon, and as soon as I started clouds rolled in, so colors in the photos are not as “bright” as they really are.)
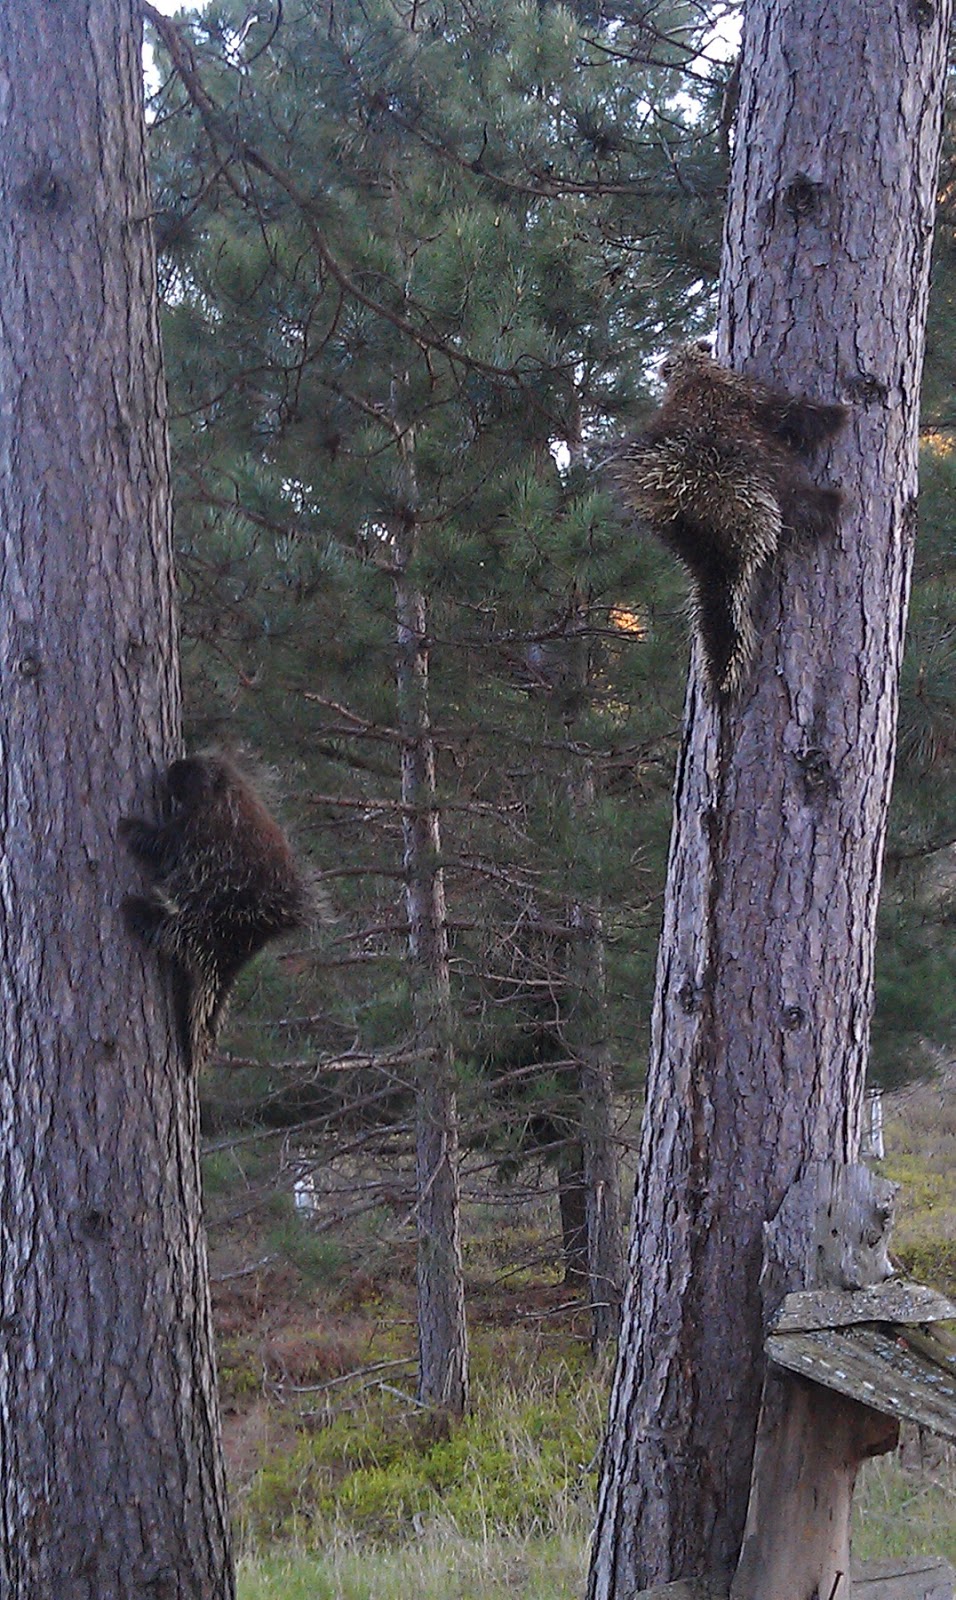 |
| Baby (left) and Mom (right) porcupines. |
Yes, they continue to return most nights, some days. Discouraging them has not been successful. Using a hot pepper sauce was suggested, but I hate the idea of doing that to the young one especially.
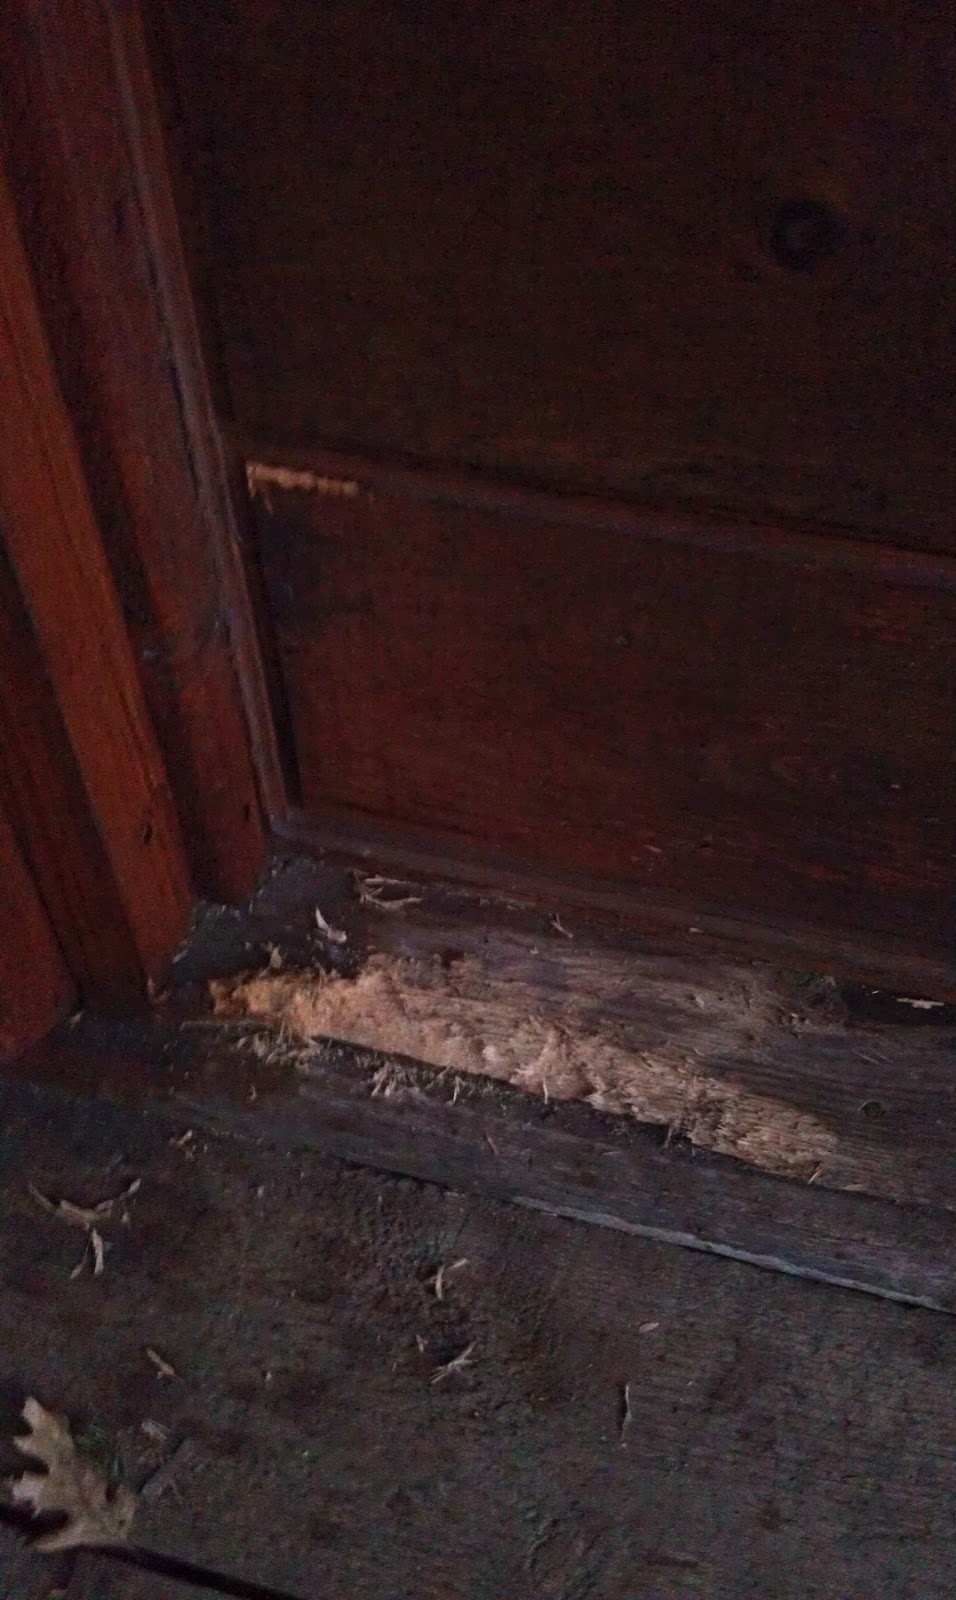 |
| Porcupine damage. |
I
can live with their chewing on the old salt lick wood stand out on the red pine, but I do object when they are chewing on my home. This doorsill at entry to my home will need to be replaced, but I’m waiting until they stop visiting. For now, there is a piece of metal hardware screening laid over the board, a piece of landscape timber holding it in place, and a rock in place to keep them from dislodging it. After the board is replaced, it will be well-stained in hopes they won’t like the “taste.” Sometimes life in the WI Northwoods can have its challenges!